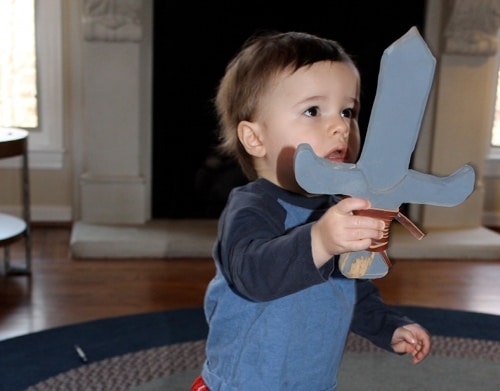
 Crom is pleased with Gus the Barbarian’s epic sword. Thulsa Poopy Diapers will be vanquished!
Last year, I went to the Craftsman Experience shop in Chicago for a blogger summit. I played with tools and learned how to make several easy projects, such as a sawhorse. The project that was the biggest hit among all the participants, however, was definitely the demonstration on how to make a wooden sword, put on by professional prop designer Holly Conrad.
Simple, quick, and cheap, this is a great project to do with the kiddos on the weekend. And when they’re done, they’ll have a sword they created with their own hands (and a little help from dad) that can be used for hours of imaginative fun. Even if you don’t have any children, I still recommend taking on this project. If you’ve never really worked with tools, but have always wanted to try, making a wooden sword is a great starter project. Plus, you’ll have a freaking sword when you’re done!
Last weekend, I invited my brother-in-law over to my garage to make some swords for our respective boys. We cataloged the steps with my trusty camera, so I could share how to do it with you all. My thanks to Holly Conrad for passing on the instructions to me at the Craftsman Experience.
Tools & Materials
Tools
- Bandsaw (Jigsaw or coping saw could work too)
- Sandpaper
- Rotary tool (Optional for sanding)
- Scissors
- 1/4″ MDF board (plywood could work too)
- Blank paper
- Marker
- Two-part epoxy
- Gray primer
- Leather strips/fake jewels
Assuming you already have the tools (or assuming you borrow them), this is a pretty cheap project. The wood, epoxy, and leather strips set me back $15. Even after making two swords, I still have some leftover wood that I could use to make some throwing stars or something.
Total time to complete sword: 40 minutes
Design and Draw Your Sword Pattern
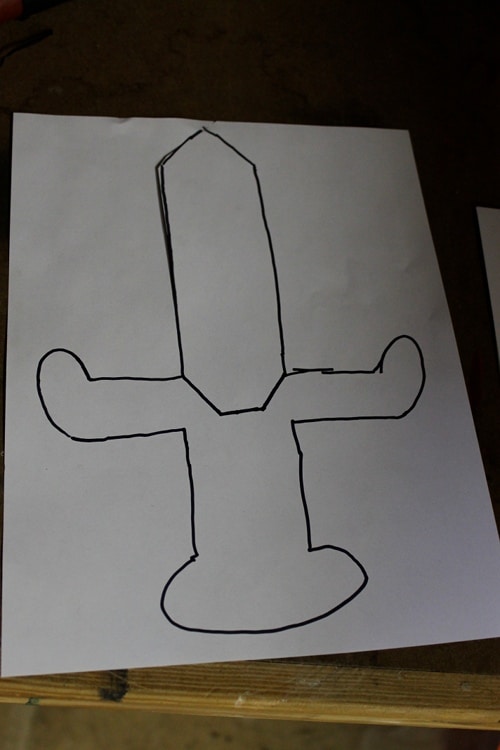
Sword of Awesomeness by Brett McKay, age 29.
On a blank piece of paper, draw your sword design. This will serve as our pattern on the wood. Get as creative as you want with it. You can go with a traditional straight blade or make your blade curved like a pirate sword. My brother-in-law made his sword look like Link’s wooden sword from the NES version of The Legend of Zelda.
After you draw the outline of your sword, draw a line inside the sword dividing the blade from the hilt.
This is a good step to let your kiddos do. As you can see, I have the drawing ability of a 10-year-old.
I guess technically, because my sword design fits on a single piece of copy paper, I’m making a dagger or knife. In the hands of a toddler, it would be a sword. It’s all relative. Feel free to make your sword blade longer for a more sword-like sword.
Cut Out Pattern
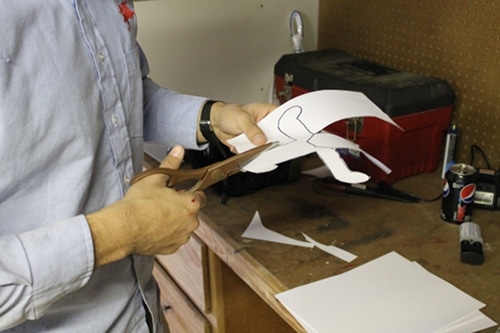
Take a pair of scissors and cut out the entire sword. This is our pattern.
Trace Full Sword Onto Board
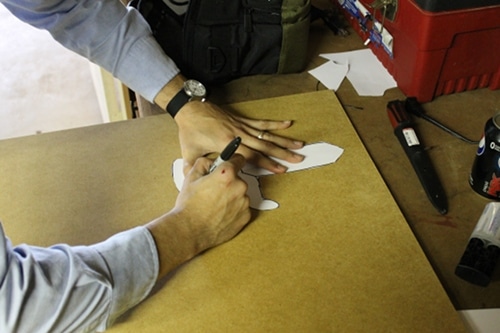
Trace your sword pattern onto the MDF board with a marker.
Cut Pattern, Detaching the Blade From the Hilt
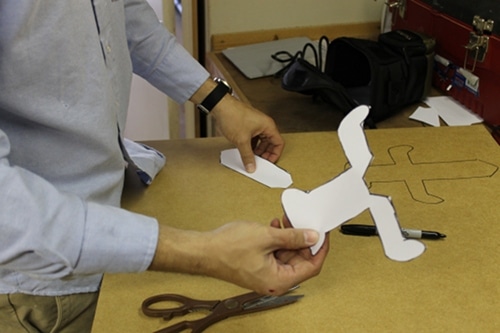
After you’ve traced the sword onto the board, take your pattern and cut along the line you drew earlier, dividing the blade from the hilt. We want to detach the blade from the hilt.
Trace Two Sword Hilts Onto Board
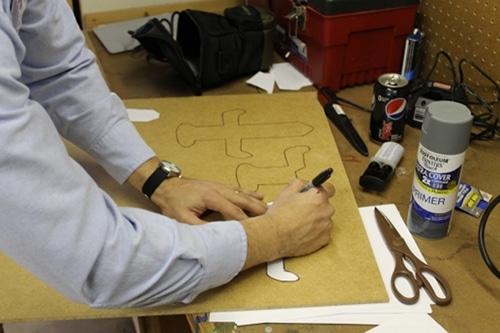
Trace an outline of your hilt on the board two times. I repeat, two times. When we cut the pieces out, we’re going to sandwich the entire sword piece between the two hilt pieces.
Use Bandsaw to Cut Pieces

Now the fun part. Rev up your bandsaw and cut out the three pieces. Why a bandsaw? The blade’s flexibility makes cutting irregular and curved shapes a breeze. I’m using a small benchtop bandsaw that’s great for small projects like these. If you don’t have access to a bandsaw, a jigsaw could work. If you don’t have access to a jigsaw or you’re a luddite who prefers using elbow grease, a coping saw will work, too. If you’re doing this project with your kids, let them use a coping saw. It will build some character.
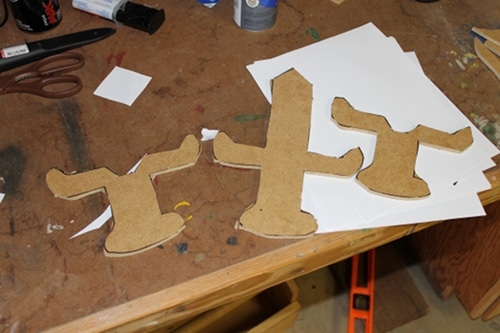
Don’t worry if the cuts aren’t perfect. As you can see, mine are horrible. We’ll clean everything up when we sand.
Glue Hilts Onto Main Sword
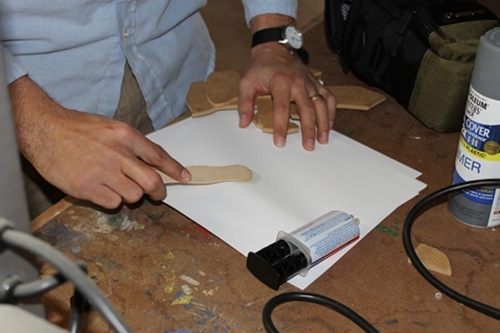
Squeeze some epoxy out on a piece of paper and mix it together. Work quickly. This epoxy sets in 5 minutes.
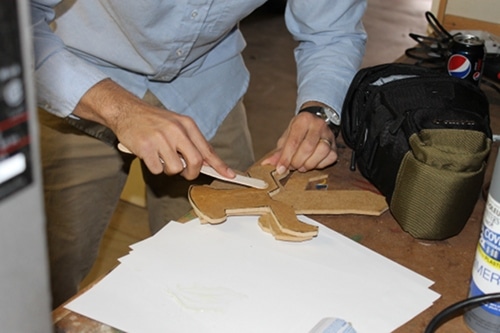
Apply a thin layer of epoxy to the hilts and attach them to the main sword. Remember, we’re sandwiching the main sword piece between the two hilt pieces.
Let Epoxy Dry
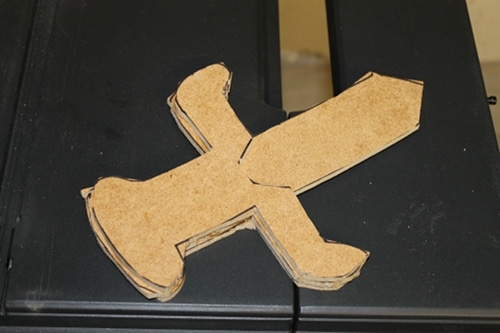
The epoxy sets in about five minutes, but I’d give it about 20 minutes to dry before you start sanding the sword. Go wrestle an alligator while you wait.
As you can see, my sword looks rough. Really rough. The hilts aren’t lining up, you see my marker outline, etc. Nothing a little sanding can’t clean up, which brings us to our next step…
Sand!
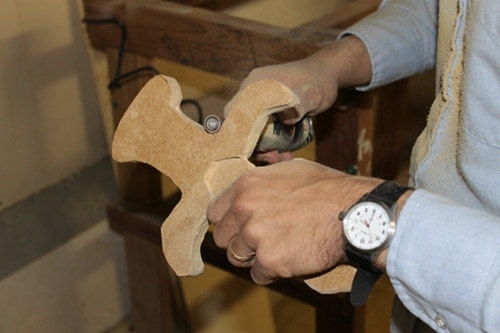
Get some sandpaper and sand down all the rough edges. With the hilt, the goal is to make the three separate pieces look like a single piece of wood. I’m using a rotary tool with the sanding attachment to make quick work of this job.
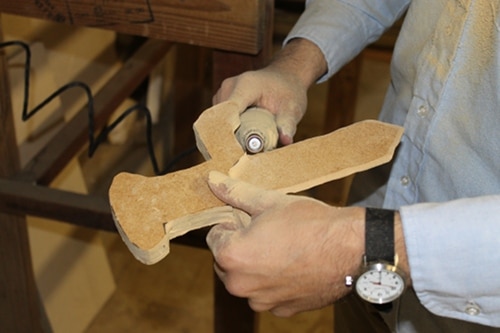
We want our sword to look sharp, so create a bevel by sanding the side of the blade at an angle. Here’s how it looks up close:

Repeat on the other side.
Spray With Gray Primer

Spray your sword with gray primer. Spray one side, let dry. Flip over, spray the other side.
Modify If Needed and Add Finishing Touches

As you can see, my finished sword looks a bit different than the original design. After I finished my sword, I realized the handle of the hilt was way too wide. I could barely get my man-sized paw around the handle, so there was no way a kid would have been able to grip it. I took the sword to the bandsaw again and thinned the hilt down some. Modify your sword if needed.
Now we can add some finishing touches. I bought some scrap leather pieces at Hobby Lobby and gave my sword a leather grip. You could also let the kiddos glue on some plastic jewels or paint it however they want.
There you have it. Now it’s your turn. Happy sword making!


